In today’s digital age, setting up an online store is more accessible than ever. Among the many platforms available, Shopify stands out as one of the most user-friendly and versatile options for entrepreneurs and businesses of all sizes. Whether you’re launching a new brand or moving your physical store online, Shopify provides all the tools you need to succeed. This blog post will introduce you to Shopify and walk you through the steps to create your own Shopify store.
What is Shopify?
Shopify is an e-commerce platform that allows individuals and businesses to create and manage their own online stores. Founded in 2006, Shopify has grown to become a leader in the e-commerce industry, powering over a million businesses worldwide. It offers a wide range of features, including customizable templates, secure payment gateways, and comprehensive support for inventory management, shipping, and marketing.
Why Choose Shopify?
- Ease of Use: Shopify is designed to be user-friendly, with an intuitive interface that requires no technical skills to set up and manage.
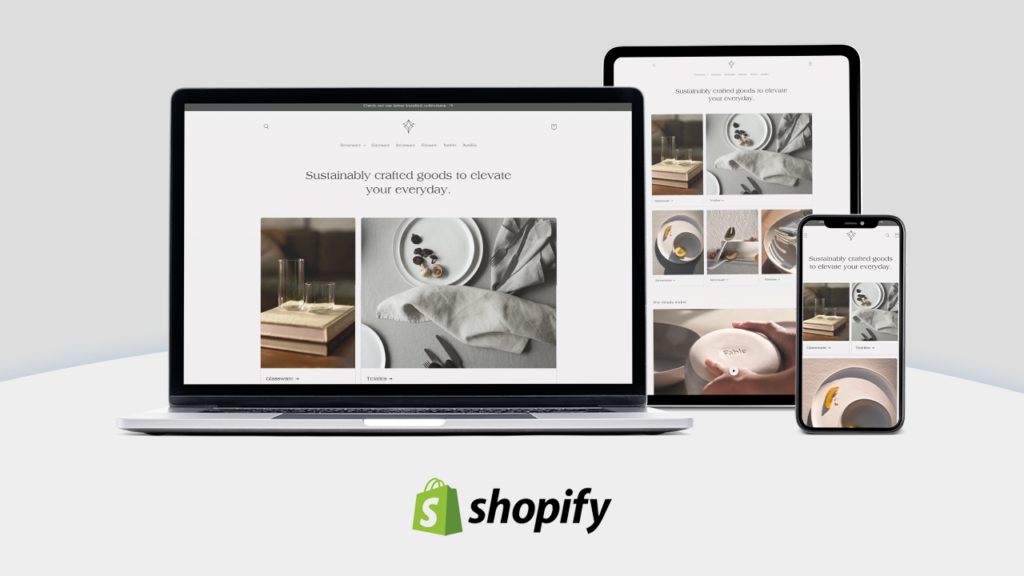
- Customization: With a variety of themes and apps, you can tailor your store to match your brand and meet your specific business needs.
- Scalability: Whether you’re just starting out or have an established business, Shopify can grow with you, offering advanced features as you scale.
- Support: Shopify provides 24/7 customer support, extensive documentation, and a large community of users to help you troubleshoot and optimize your store.
Step-by-Step Guide to Setting Up Your Shopify Store
Step 1: Sign Up for Shopify
- Visit the Shopify Website: Go to shopify.com and click on the “Start free trial” button.
- Create Your Account: Enter your email address, create a password, and choose a store name. Click “Create your store” to proceed.
- Complete the Setup: Shopify will ask you a few questions about your business. Answer these to tailor the setup process to your needs.
Step 2: Choose and Customize Your Theme
- Access the Theme Store: From your Shopify admin dashboard, navigate to “Online Store” > “Themes”. Browse through the free and paid themes available.
- Preview and Select a Theme: Preview different themes to see how they look. Once you find one you like, click “Add to theme library” and then “Customize”.
- Customize Your Theme: Use the drag-and-drop editor to modify your theme. You can change colors, fonts, and layout to match your brand. Add your logo, adjust the navigation, and set up the homepage.
Step 3: Add Products to Your Store
- Navigate to Products: In your Shopify admin, go to “Products” > “Add product”.
- Enter Product Details: Fill in the product title, description, price, and other relevant information. Upload high-quality images of your product.
- Organize Your Products: Use tags and categories to organize your products. This will make it easier for customers to find what they’re looking for.
Adding Products to Your Shopify Store Using Dsers: A Step-by-Step Guide
Adding products to your Shopify store can be streamlined and efficient with the help of Dsers, a powerful dropshipping app that integrates seamlessly with Shopify. Dsers allows you to import products from AliExpress, manage your orders, and automate your dropshipping business. Here’s a step-by-step guide to help you add products to your Shopify store using Dsers.
What is Dsers?
Dsers is a dropshipping tool designed to help e-commerce businesses find and import products from AliExpress, process orders, and manage their dropshipping operations. It simplifies the entire process, saving you time and effort while expanding your product catalog.
Why Use Dsers?
- Ease of Use: Dsers has an intuitive interface that makes importing and managing products straightforward.
- Bulk Order Management: You can process multiple orders simultaneously, which is particularly useful during high sales periods.
- Automation: Automate key aspects of your dropshipping business, such as order fulfillment and tracking updates.
- Supplier Optimization: Easily switch suppliers and find the best deals to maximize your profit margins.
Step-by-Step Guide to Adding Products Using Dsers
Step 1: Install Dsers on Your Shopify Store
- Go to the Shopify App Store: Visit the Shopify App Store and search for “Dsers”.
- Install the App: Click on the Dsers app and then click “Add app”. Follow the prompts to install it on your Shopify store.
- Create a Dsers Account: If you don’t already have a Dsers account, you’ll need to create one. Follow the registration process to link your Shopify store with Dsers.
Step 2: Connect Your Dsers Account to AliExpress
- Log into Dsers: Open the Dsers app from your Shopify admin dashboard.
- Connect to AliExpress: Click on the “Authorize” button to connect your Dsers account to AliExpress. You’ll need to log in with your AliExpress credentials and authorize the connection.
Step 3: Find Products on AliExpress
- Search for Products: Use the search bar within Dsers to find products you want to add to your store. You can browse by category or use specific keywords.
- Evaluate Suppliers: Look for suppliers with high ratings, positive reviews, and reliable shipping times to ensure you’re offering quality products to your customers.
Step 4: Import Products to Your Shopify Store
- Select Products: Once you’ve found a product you want to add, click the “Add to Import List” button.
- Review Import List: Go to your import list in Dsers and review the selected products. You can edit product titles, descriptions, variants, prices, and images to fit your brand.
- Push to Shopify: After making the necessary edits, click the “Push to Shopify” button. The products will be imported into your Shopify store’s inventory.
Step 5: Organize Your Products
- Categorize Products: In your Shopify admin, navigate to “Products” and categorize your newly imported products into collections. This will help customers find them easily.
- Set Product Details: Ensure each product has detailed descriptions, high-quality images, and appropriate pricing. This is crucial for converting visitors into customers.
Step 6: Automate Order Fulfillment
- Set Up Automation Rules: In Dsers, go to the “Settings” tab and configure automation rules for order fulfillment. This includes setting default shipping methods and automatic order processing.
- Track Orders: Once an order is placed in your Shopify store, Dsers will automatically fulfill it by placing an order with the AliExpress supplier. You can track the status of each order within Dsers.
Step 7: Monitor and Optimize
- Track Performance: Use Shopify’s analytics tools to monitor the performance of your products. Look at metrics such as sales, conversion rates, and customer feedback.
- Optimize Listings: Continuously update and optimize your product listings based on customer feedback and sales data. Consider adding new products or removing underperforming ones.
Conclusion
Using Dsers with Shopify makes it easy to add and manage products in your online store. By following these steps, you can efficiently expand your product catalog, automate order fulfillment, and focus on growing your business. With the right products and strategies, your Shopify store can thrive in the competitive e-commerce landscape. Happy selling!
Step 4: Set Up Payment Gateways
- Go to Payment Settings: In your admin dashboard, click on “Settings” > “Payments”.
- Choose a Payment Provider: Shopify supports various payment gateways, including Shopify Payments, PayPal, and third-party providers. Select the ones you want to use.
- Configure Payment Options: Follow the instructions to set up each payment method. Ensure you have entered all necessary information for smooth transactions.
Step 5: Configure Shipping Settings
- Access Shipping Settings: Go to “Settings” > “Shipping and delivery”.
- Set Shipping Zones and Rates: Define where you will ship your products and set the shipping rates. You can offer flat rates, free shipping, or calculated rates based on weight or order value.
- Choose Shipping Methods: Decide which shipping carriers and methods to use, such as standard, expedited, or local delivery options.
Step 6: Launch Your Store
- Review Your Settings: Double-check all your settings, including taxes, policies, and notifications.
- Test Your Store: Place a few test orders to ensure everything is working correctly, from product selection to checkout and payment.
- Remove Password Protection: When you’re ready to go live, remove the password protection under “Online Store” > “Preferences” so customers can access your site.
Step 7: Market Your Store
- Set Up Social Media Accounts: Create profiles on social media platforms like Facebook, Instagram, Tiktok and Twitter to promote your store.
- Implement SEO Strategies: Optimize your product pages and blog content with relevant keywords to improve search engine visibility.
- Run Marketing Campaigns: Use Shopify’s built-in marketing tools to create email campaigns, discount codes, and targeted ads.

Conclusion
Creating an online store with Shopify is a straightforward process that can be accomplished by anyone, regardless of technical expertise. By following these steps, you can launch a professional, fully-functional e-commerce site that’s ready to attract and serve customers. Remember, the key to a successful online store is not just setting it up but continuously optimizing and marketing it to reach your target audience. Happy selling!